
The Galerist Journal · workflow
Proofing workflow: from client selection to final delivery
A practical, time-tested proofing workflow for photographers and videographers: intake, cull, proof, revisions, final delivery, and archiving—plus templates and checklists.
Giulio Palumbo Schiavone · September 16, 2026 · 7 min read
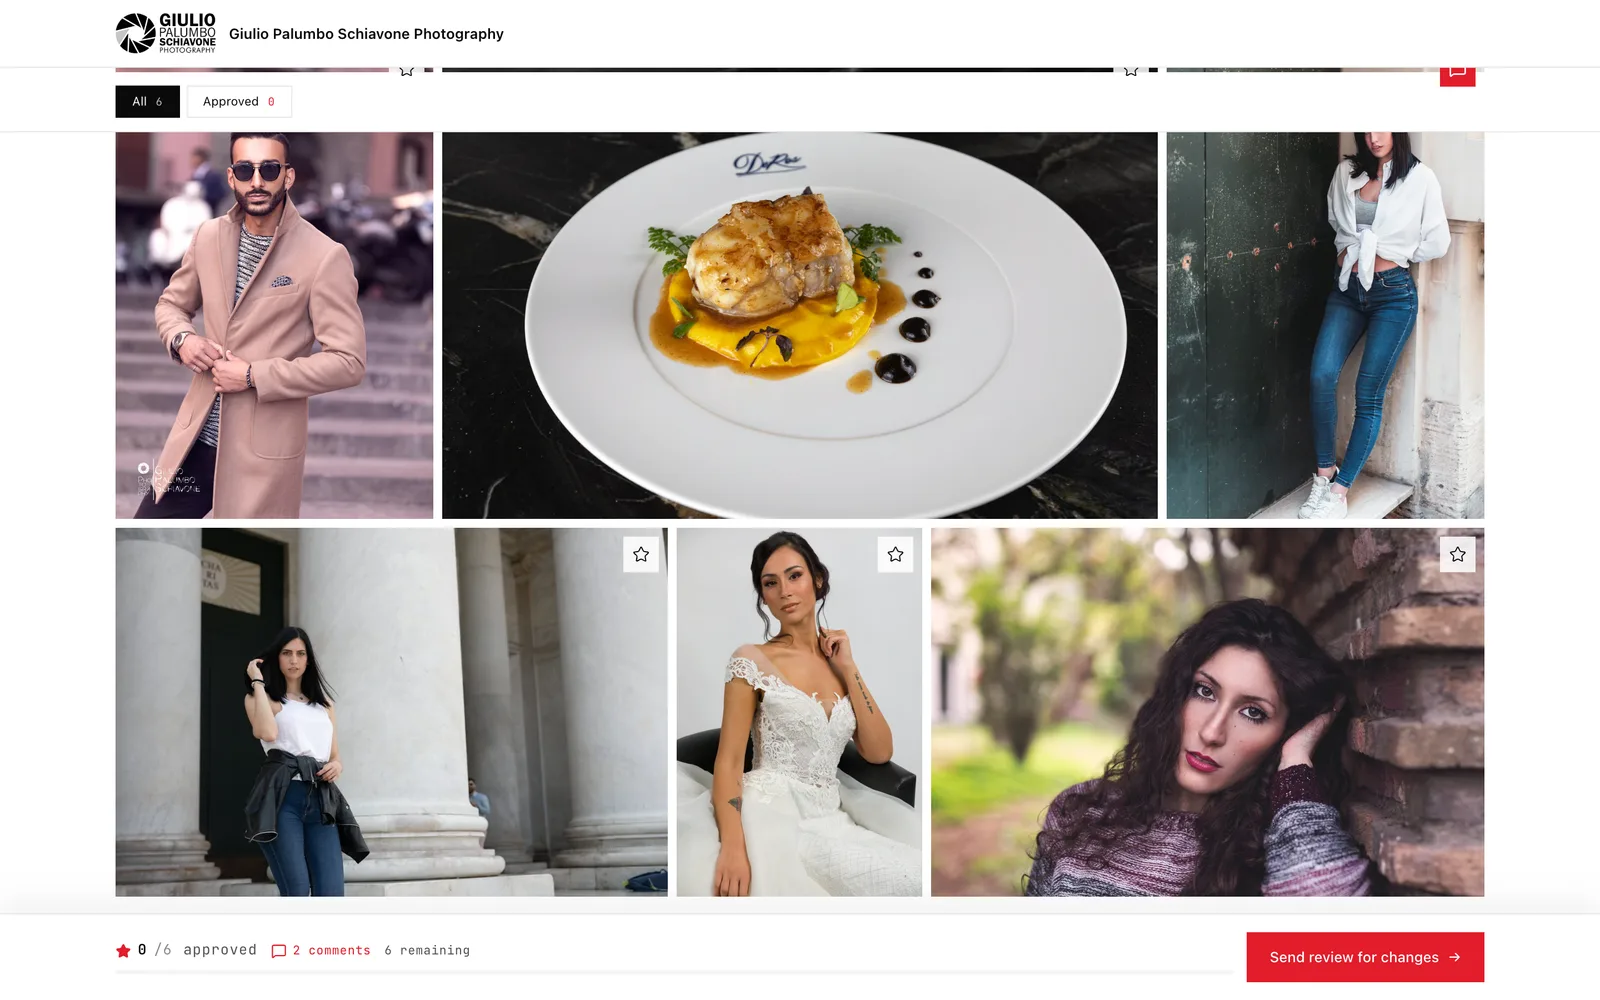
We run a lot of proofing galleries. Over the years we've refined a single goal: make it trivially fast for a client to choose what they want and for us to turn that choice into final assets with zero ambiguity. Below is the workflow we use with clients across portrait, commercial, event and wedding work — plus checklists and copy-ready templates you can drop into your inbox or proofing system.
Principles we build the workflow around
- Reduce client friction: fewer clicks, clear choices, and explicit deadlines.
- Reduce ambiguity for us: every selection maps to a deliverable filename, retouch spec, and invoice line.
- Keep the proofing phase inexpensive: quick culls and provisional color/white balance only; reserve full retouching for final selections.
- Record everything: timestamps, selections, and the exact file versions used for final edits.
We make one of these tools, so weigh that where it shows. We name it only where it actually changes a decision in the workflow below.
Phase 1 — Intake and expectations
What to set with the client before the shoot
- Deliverables (number of final images, variants, and deliverable formats). Example: 30 fully retouched JPEGs (web res) + 30 high-res TIFFs, or 1 minute highlight video + 4 social clips.
- Selection method and deadline. Example: "Select your 30 images from the proofing gallery within 7 days."
- Turnaround for final retouching. Example: "Final retouches delivered within 14 business days after selections."
- Licensing terms and pricing for extra images or additional retouches.
Write these into the estimate or contract. If we offer a proofing gallery included for 7 days, we say so explicitly.
Quick intake checklist
- Confirm shoot date, location, and contact info.
- Confirm selection deadline and final delivery date (explicit dates, not "two weeks").
- Confirm number and type of deliverables.
- Note any retouching preferences (skin smoothing, background cleanup, color grading references).
Phase 2 — Ingest and cull
We treat selection-ready files as "provisionals" — correctly exposed and roughly color-balanced, but not fully retouched.
Ingest checklist
- Back up originals: camera cards → primary storage → secondary storage (2 copies minimum).
- Generate previews for proofing (JPEGs at 1500–2400px on the long edge depending on client needs).
- Apply global lens corrections and a single color profile; avoid heavy dodging/burning or local retouching before selection.
Culling method
- First pass: a fast remove of technical failures (missed focus, closed eyes, huge motion blur).
- Second pass: pick all viable frames for the client (we prefer to show 2–3x the number of expected final selects; e.g., show 90 images if the client will pick 30).
- Flag duplicates and keep the best five per pose to avoid choice paralysis.
We use star/flag ratings or a simple "pick" flag depending on the tool. The important part is that every image in the gallery maps to a unique internal filename.
Phase 3 — Create the proofing gallery
Design the gallery for quick decision-making:
- Present images in logical order (chronological, by outfit, or by set).
- Group similar poses and label groups: "Family portraits — Set 1", "Formals — Outfit 2".
- Include a short explainer: what they need to do, how many selects they have, and the deadline.
We always put a short how-to at the top of the gallery: how to mark selections, request extras, and how revisions work.
Example gallery message (copy-paste)
Hello [Client name],
We uploaded your proofing gallery: [gallery link]
How it works:
- Please select up to 30 final images by marking them with the heart (or using the "pick" tool) by [Date — exact].
- If you want additional options, add a comment on the image.
- After selections close we’ll apply final retouching and deliver the final files within 14 business days.
Questions? Reply to this message.
— [Your name]
Phase 4 — Client selection and tracking
When the client starts selecting:
- Export an audit: who selected what and when. Keep this as the single source of truth.
- Convert each client selection into a deliverable spec: filename, retouch level, crop/aspect, and final format.
Naming convention (our standard)
clientLast_EVENT_YYYYMMDD_###_v01.ext
Example: davis_wedding_20240612_021_v01.jpg
Why this helps: the event and date are human-readable, the number is the original frame identifier, and the v01 ensures you can track retouch versions.
Phase 5 — Revision requests and retouching
We treat retouch requests as discrete tasks with acceptance criteria.
- Use a checklist for each requested retouch: skin, teeth, stray hair removal, background cleanup, color grade, crop.
- Estimate time per retouch and communicate costs before you start if not included in the package.
Revision request template (copy-paste)
On [Image filename], please do:
- Remove stray hairs at the crown.
- Reduce shine on forehead (natural finish).
- Deliver full-frame TIFF + web JPEG.
If anything will exceed the agreed retouch budget we reply with an estimated add-on and ETA.
Phase 6 — Final delivery
We deliver two things: the final assets and the record that ties them back to the proof.
Final assets
- Master files: layered PSD/TIFF or high-quality JPEG/TIFF as agreed.
- Web-ready versions: sRGB JPEGs sized for social and web (we typically export a max dimension at 2048 px for web unless otherwise requested).
- Print-ready files: ProPhoto or Adobe RGB TIFFs sized and profiled to the print lab's specs when required.
File packaging and delivery options
- Secure download link (expiring link is fine) for most clients.
- FTP/SFTP or cloud transfer for large commercial deliveries.
- Physical hard drive or FAT32/NTFS drive for clients who require it (we ship overnight with insurance when needed).
Always include a README file that lists the final filenames, the original proof filename mapping, resolution, color profile, and a checksum if the client or lab needs it.
Quality control before sending
- Verify filename mapping against the selection audit.
- Open at 100% and check for retouch artifacts.
- Confirm color profile and embed it.
- Test a random image on a different machine if possible.
Phase 7 — Archiving and billing
- Archive raw files and final deliverables separately. We keep three copies: primary, backup onsite, and cold storage (offsite). Retention policy depends on contract, but we keep a minimum of one year active, then move to cold storage for three to five years.
- Send the final invoice referencing the selections ("Invoice for 30 retouched images selected on 2024-06-12"). Attach a zip of the README and the download link.
Practical timing templates
Use concrete dates in every message. Ambiguous phrases like "within two weeks" cause questions.
- Proofing gallery live: Day 0 (within 48 hours of shoot for most portrait work; for weddings we aim within 72 hours or a same-week highlight gallery).
- Selections due: Day 7 (client picks). If no response, send one reminder on Day 10 and an automatic "no selection" policy email on Day 14.
- Final retouch delivery: 14 business days after selections close (we quote calendar days with an exact delivery date).
- Rush upgrades: 3–5 business days for an add-on fee.
Templates for the reminders
Reminder 1 — 3 days before selection deadline:
Hi [client],
A quick reminder to select your final images by [exact date]. You can use this link: [gallery link]. If you need an extension, tell us the date you prefer.
Thanks, [Name]
No-response email (after 7 days of silence):
Hi [client],
We haven’t received selections. If you’d like us to proceed with a default cull (our picks) so we can complete your retouches by [date], reply with YES. Otherwise please select by [new date].
— [Name]
Small but critical habits that save time
- Lock the gallery when selections close so nothing changes without an audit.
- Export a CSV of selections and attach it to the invoice.
- Use a single retouch spec template per client and save common presets.
- Use versioned filenames (v01, v02) — never overwrite a delivered file.
Common problems and how we fix them
- Client changes their mind after retouches: require a paid revision unless it’s a minor tweak (we define "minor" as a single slider change like exposure or saturation).
- Client requests a different crop after retouch: we accept one crop change per image free; additional crops are billed.
- Missing selections: if a client does not pick within the agreed timeframe we complete a set using our best judgement and send it with a clear note; we still allow paid revisions.
Why we insist on separating proofing and retouching
Proofing is about choice. Retouching is about craft. If we retouch every provisional before the client decides we waste time and open ourselves to rework when the client changes a selection. The proofing phase saves us money and the client time.
TL;DR
- Tell the client exactly what they must do and by when, with exact dates.
- Show 2–3x the number of provisional images you expect the client to pick.
- Keep proofing images lightly edited; reserve detailed retouching for final selections.
- Map every selection to a filename and a retouch spec; export the selection audit and attach it to the invoice.
- Deliver masters, web copies, and a README; archive three copies and keep your retention policy explicit.
If you want, we can provide a downloadable CSV template for selection audits and a ZIP with the message templates in plain text. If you happen to use Galerist — ours, so discount accordingly — the same mapping from proof picks to the delivered gallery applies.